Spring is in full swing and this time we will be painting cute white bows. This design is very easy and fast. So let's get started!

This is it:

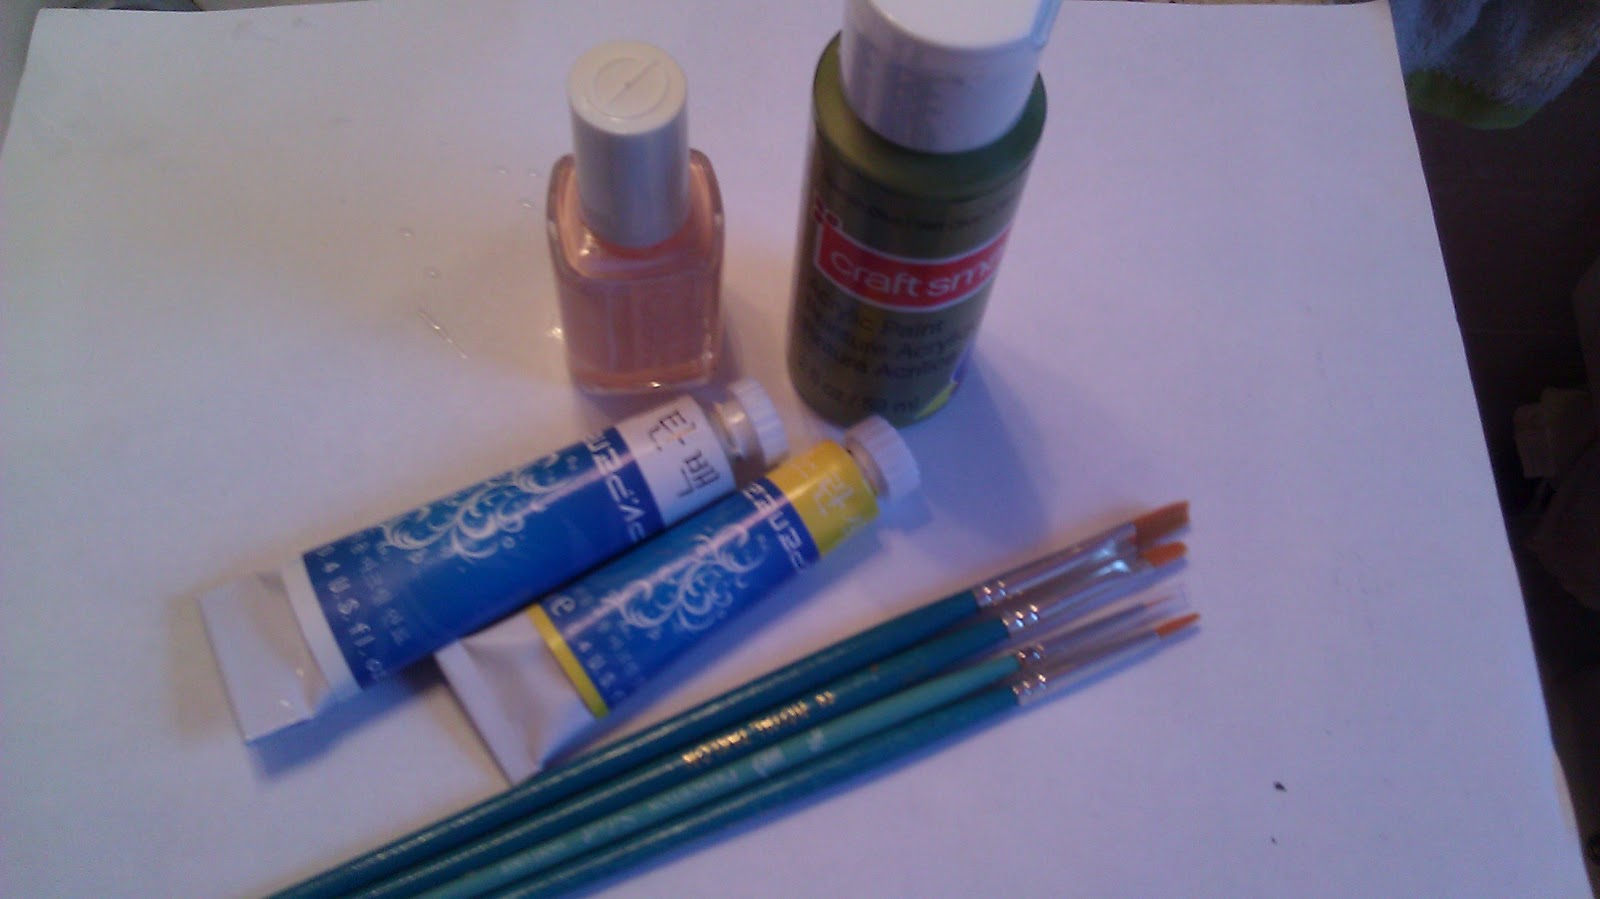
Supplies needed.

Start off with basecoat

Put on 2 coats of purple polish. The one I'm using is Essie's: "To Buy or Not to Buy"

Mix some white acrylic paint with water if it's too thick. If not, your bow is going to come out very rough-looking.

Using a brush, paint from the center of nails outward.

Second layer to make it more opaque.

Do the same with the thumb.


Find a very glittery nail polish. Here I'm using Essie Luxe Effects : Shine of the Times.

Paint on a coat on each of your nails that do not have a white bow on.

Do the same with all your other nails.

Now put on Top Coat on your ring finger and thumbs.

We will be using the silver rhinestones.

Pick it up with tweezers...

Put some topcoat on the back of it.

Now put it in the middle of the bow.

and one on the thumb.

and we're finished! Easy, Simple, and Sweet.

Thanks for reading, Comment and keep following for more updates!