Spring is officially here. So to celebrate we will be doing a Spring Flower tutorial. This is actually pretty simple but I advise you to practice before painting the design on your nail. You'll see what I mean later. Also heads up on the quality :( I couldn't take the pictures where I usually take it. So here we go:

This is what it looks like
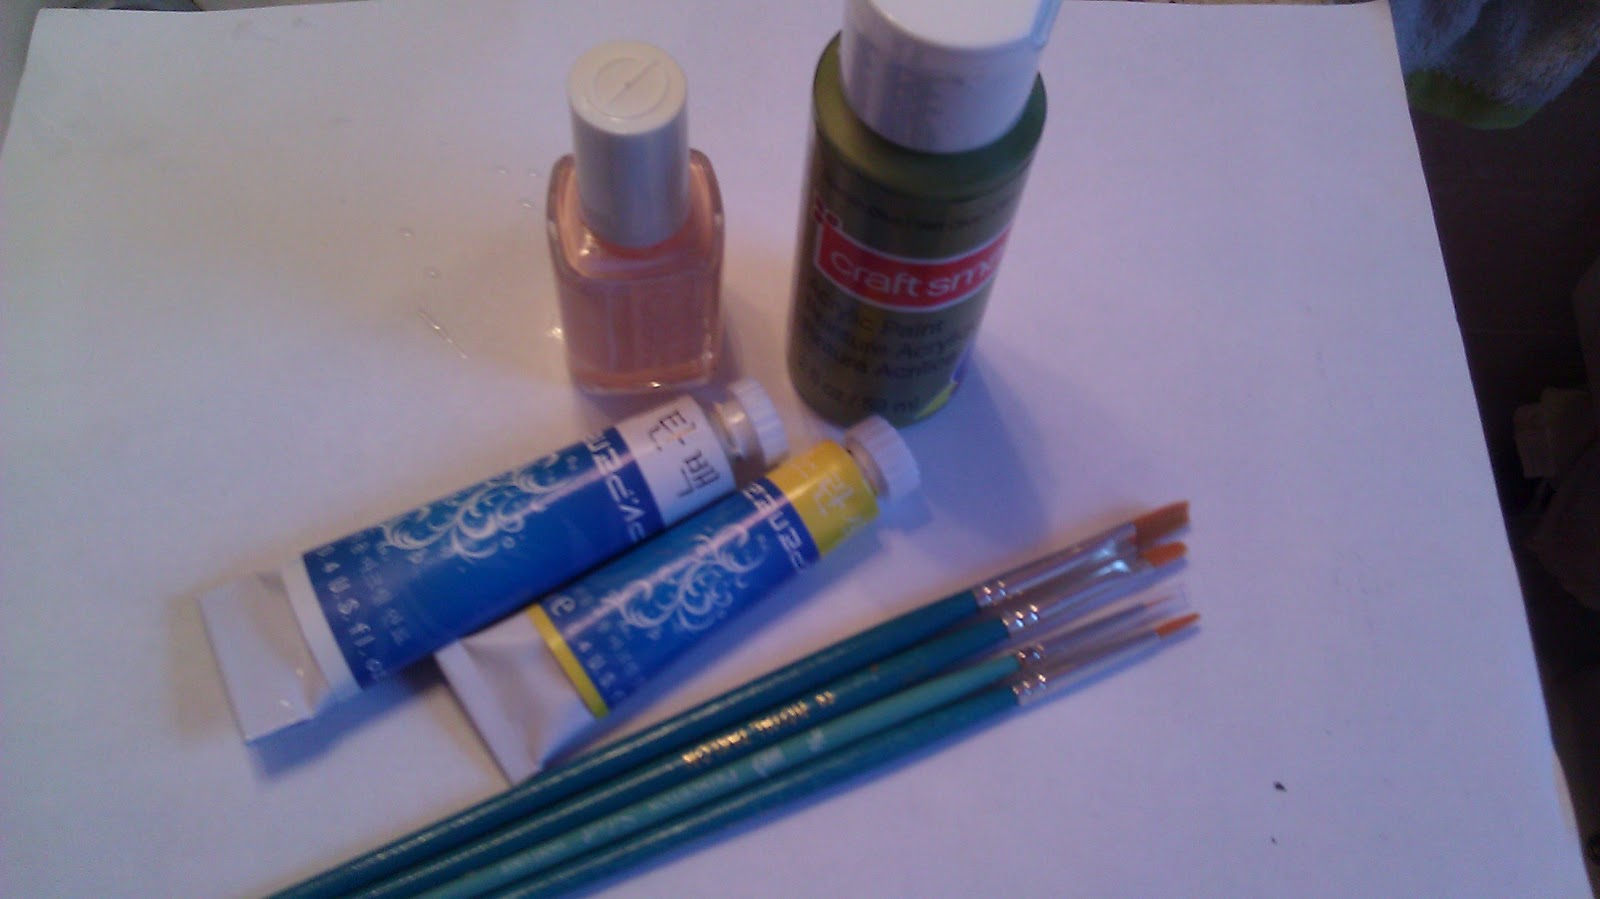
You need : Pink Polish, brushes, sage green acrylic paint. white and yellow acrylic paint.

Start off with base coat.

Paint on 2 coats of pink polish

Using a thin brush. Paint a grass strand by flicking the brush upward.

Do this a couple more times

Now repeat on your ring finger as well.

Next, you will need a brush like this shape so that we can draw flower petals. Mix some water to the white and yellow acrylic paint if its too thick, but not too much.

Now dip ONE side of the tip into the white paint like so.

Dip the other side into the yellow.

Practice on the paper. Press firmly on the white side and flick upwards to create petals.

Keep practicing if you still have trouble.

Paint on the petals one by one.

and this is what the flower should look like.

Repeat on Pointer finger.

Add another if you want.

Add grass to the other fingers as well if you don't like it plain.

Add top coat and you're done!

Thanks for reading. Keep following for more updates and comment below!
Flawless~ I love how it matches the season too! hehe~ YOU SHALL SHOW ME SOON>:)
ReplyDelete-Sara:)
Another beautiful tutorial!! :)) Can't wait for the next one!
ReplyDelete